Blackboard: Grade Center Basics For Faculty
- 06 Feb 2023
- 6 Minutes to read
- Contributors

- Print
- DarkLight
- PDF
Blackboard: Grade Center Basics For Faculty
- Updated on 06 Feb 2023
- 6 Minutes to read
- Contributors
- Print
- DarkLight
- PDF
Article summary
Did you find this summary helpful?
Thank you for your feedback
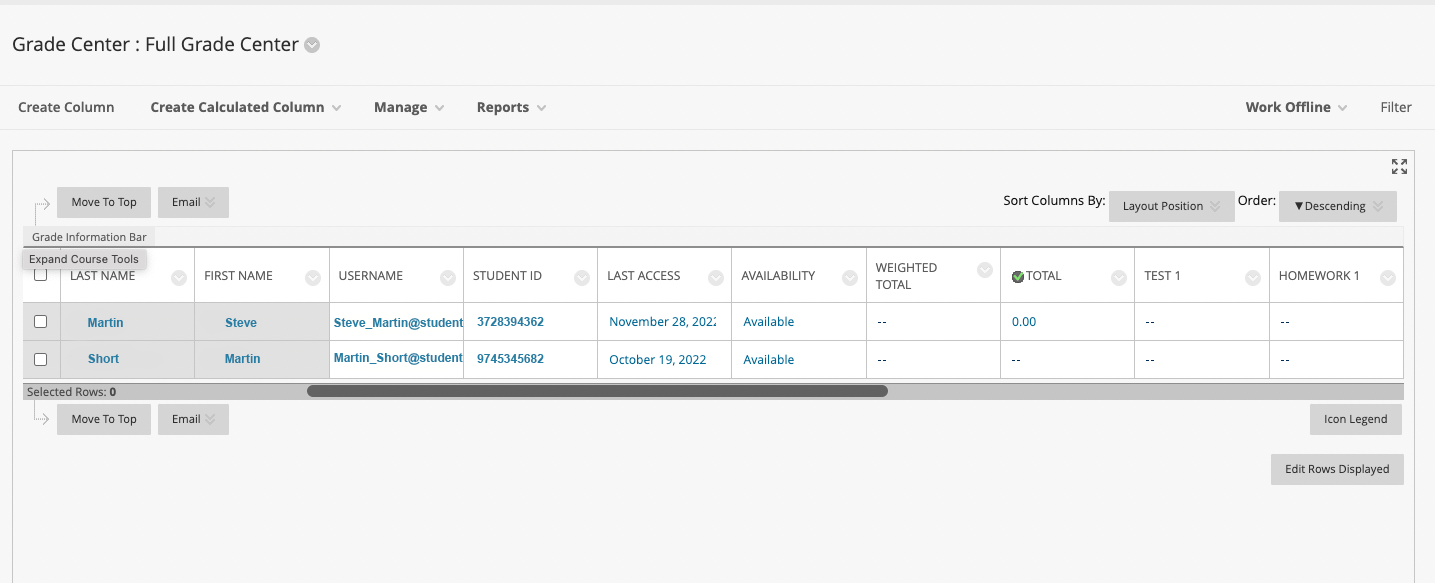
The Grade Center is the virtual grade book in Blackboard. You can enter grades, give comments and feedback, and calculate final grades here. Students have access to these through "My Grades". It's important to make sure that you have the "My Grades" tab in your Blackboard course.
 Automatically Generated Columns Vs. Manual Columns
 Automatically Generated Columns Vs. Manual Columns
When creating an assignment (including a Turnitin assignment), a test in Blackboard, or any other graded item, a grading column will automatically be created in the Grade Center. You do not have to add one. When you choose to use the "Attendance Tool" in Blackboard, that will also automatically create a grading column. You do not have to make columns for each class as the tool will automatically calculate their score as you enter the attendance for each class. (See the "Blackboard: The Attendance Tool" article for how to set this up.)
A manual column will need to be created for any assignment that is not turned in via Blackboard. This could be an in-class presentation, participation in class, an in-class check-in (i.e. reciting the letters of the alphabet in another language, presenting a piece of art or dance, etc.), and any number of other types of assignments.
Once you are in the Grade Center, click "Create Column". Enter the "Column Name" (usually the name of the assignment). For "Grade Center Name", you can abbreviate the assignment's name if it's long, but this is optional. You may want to write a description of what the assignment is, but this is also optional since students won't be submitting anything here. "Primary Display" is set to "Score" by default and "Secondary Display" is set to "None" by default. You may choose to change these to a percentage or complete/incomplete or whichever makes the most sense for this column. Two items will appear in each box if you choose something for both.
Next, you'll choose the "Category". This is automatically set to "No Category". If you are using a weighted column, you will need to select a category for this at this point. (See the article "Blackboard: Grade Center Categories and Weighted Columns" for more information.) This "Category" may be one of the default categories or a new one you have created.
You must enter the "Points Possible", even if the number is zero. You may add a rubric directly to the assignment for grading. The rubric can be shown to students or it can be hidden and only used for grading. (For more on rubrics, see the article "Blackboard: Rubrics".)
Adding a due date is optional. The due date will display for the students in their "My Grades" tab. Then click "Submit".


The grading columns will appear in the order in which they were added to Blackboard, whether automatically or manually.
Column Organization
Watch this short video on Column Organization to learn how to arrange your Grade Center columns in order of due date, type of assignment, or however is best for your course.
Extra Credit Columns
Extra credit columns can be tricky depending on how you want to add them to your overall grade. If you want to add extra credit to a particular assignment, it is recommended that you manually override the grade in the Grade Center. Once the column has been created, you will need to decide how it will need to be incorporated into the overall grade. If you are not using a weighted column, there's no more you need to do. If you are using a weighted column, you will need to determine what the percentage is in relation to the overall grade. For example, if you want to add 2 points to their grade and their overall possible points from the weighted column is 10, you will input their grade as 0.2. If the overall possible score is 100, you'll add it as 2.
 When creating this column (or if you are adding it as an assignment within Blackboard), set the points possible to "0". Then the overall score the students can achieve is still the same and only those who complete the extra credit will receive the extra points.
If you are using a weighted column, you will need to add this to the total column. This will not go in with the weighted calculations. Your Total Column will then have "Extra Credit" (or several of these, depending on what you're offering) plus the "Weighted Column" to calculate their final grade.
Total Column
If you are not using a weighted column, you do not need do anything further to set up this column. In the column information, your column should have "All Grade Columns" selected. If you are using a "Weighted Total" column you will need to complete a few small steps.
As mentioned above, if you have any "Extra Credit" columns, you will need to add those to this column as well.
Click on the arrow next to the "Total Column" and select "Edit Column Information". Under "Select Columns" click on "Selected Columns and Categories". Here you will select "Weighted Total". If you are adding any "Extra Credit" columns, you will also input them here. Then hit "Submit".
It is recommended that you set the Primary Display of the "Total Column" as "Letter". This is a step you will need if you choose to transfer your grades directly from Blackboard to SiS. For more information on how to do this here is a video with step-by-step instructions: Sis Grade Center Import.
Grading Schemas
Grading Schemas allow you to adjust what percentages are equal to what letter grades. Blackboard has a default schema set up in the "Grade Center", In order for the correct letter grade to be shown, you'll need to adjust this accordingly.
Under the "Manage" drop-down at the top of the "Grade Center", click on "Grading Schemas".
.png)
On the next page, it will show a line that says "Letter". Use the arrow next to "Letter" and click edit. You may also create new or additional schemas, but remember to change the "Primary Display" in the assignment or quiz to whatever you call the new schema, or the grade will not show up properly.
.png)
The screenshot below shows what the default Letter "Grading Schema" looks like. At UML, most courses do not allow an A+ as a final grade. Change the A+ to an A. Then change the percentages that will apply if a student receives an A. Keep changing as you go down. Delete any rows that don't apply (i.e. D, D-, etc.). Once you've changed all the letters and percentages to line up as needed, click "Submit". You'll see the grades in the "Grade Center" change accordingly.
.png)
Needs Grading
When a student has completed a quiz or assignment that needs grading, these will show up in the "Needs Grading" tab under "Grade Center". The items in this list will be hyperlinked and take you directly to the item that needs to be graded. Once a grade has been entered, the item will disappear from the list.
.png)
If you are already in the "Full Grade Center" view, an item that needs a grade will show with a yellow circle with an exclamation point in it. Hover over the box with the item and use the arrow to reveal the drop-down.
.png)
This drop-down will allow you to see the attempt or attempts if the assignment is set up for multiple submissions, for you to select to grade. This is also where you can exempt an assignment or quiz for a student if the situation calls for it.
.png)
My Grades
In order to view their grades, students must have the "My Grades" link added in the left navigation column. They are not able to see the "Grade Center", so it's important this is added to your course if it's not already. Students are able to see only their own grades.
In the upper left corner of the left navigation column, click on the plus sign inside the circle and click on "Tool Link". In Name write "My Grades" then change the drop-down to "My Grades". If you do not change the drop-down, your link will try to link students to a math program. Check off "Available to Users" and then click "Submit".


Was this article helpful?